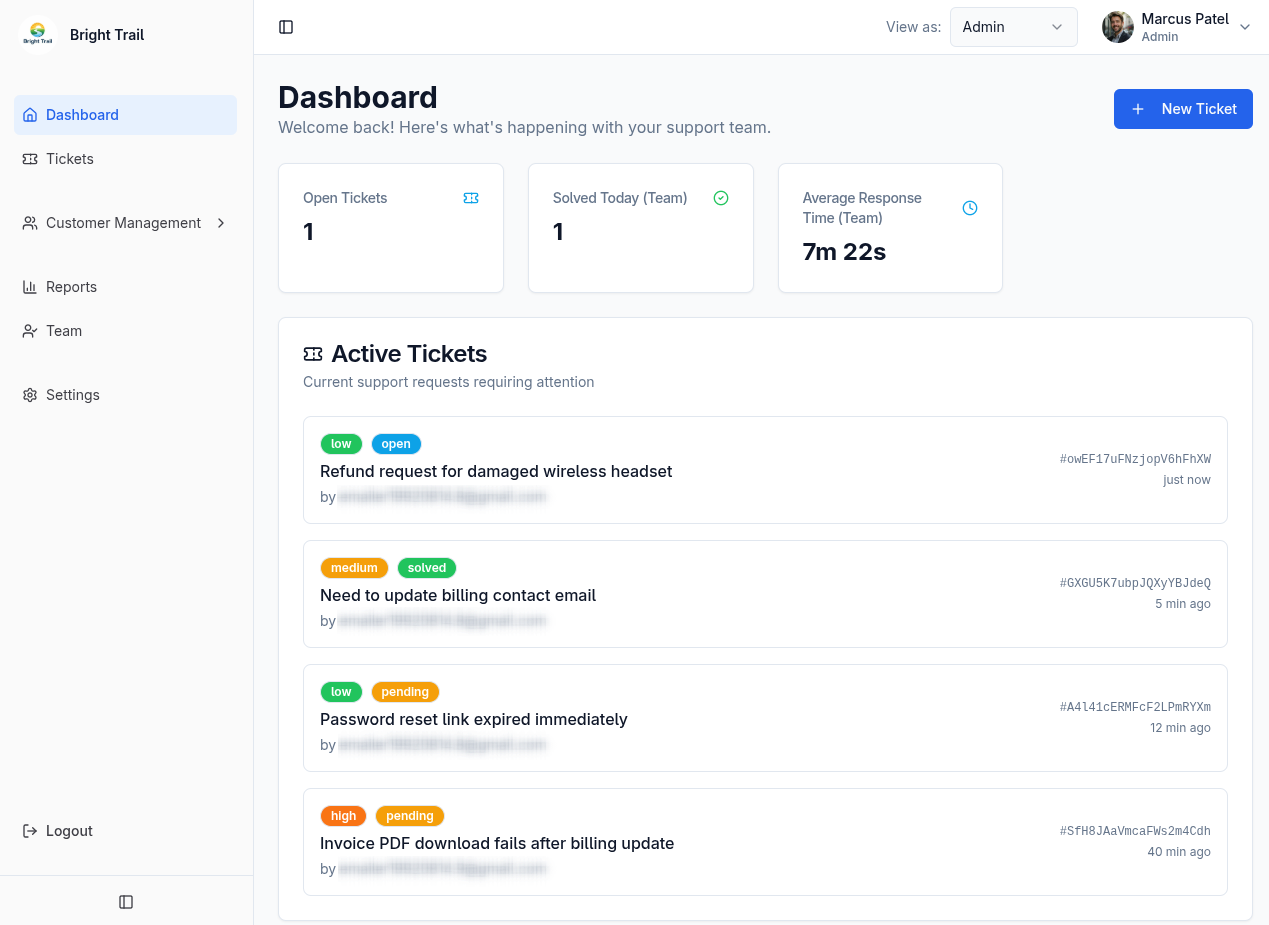
Quick start checklist
Use this checklist to get a new MuninX workspace ready for customers.
1. Set your organization display name
Section titled “1. Set your organization display name”Go to Settings and open the Organization tab. Set a display name customers will recognize.
This name appears in email notifications and in the customer portal. Keep it close to your company, product, or support brand.
2. Configure customer access
Section titled “2. Configure customer access”Choose how customers can create tickets by email:
- Open: anyone can create tickets by email except senders from blocked domains.
- Restricted: authenticated users and users from allowed domains can create tickets by email.
- Closed: only authenticated users can create tickets.
Most small teams should start with Restricted unless they intentionally want open inbound support.
3. Choose your reply identity
Section titled “3. Choose your reply identity”MuninX can show replies as the individual agent or as your organization.
Use Agent identity when customers should see who replied. Use Organization identity when replies should appear from the support team as a whole.
This only changes the customer-facing author shown in tickets and notification emails. Admins and agents still see which team member wrote each reply.
4. Configure auto-solve and auto-close
Section titled “4. Configure auto-solve and auto-close”Auto-solve can solve pending tickets after a configured number of hours and optionally notify participants with a solving message.
When participant email is enabled, the solving message is what gets emailed to ticket participants.
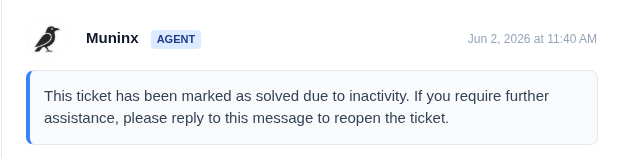
Auto-close can close inactive tickets. Closed tickets are permanently locked; customers need to open a new ticket for further help.
5. Invite your team
Section titled “5. Invite your team”Admins manage team members from Team. Add admins or agents, choose whether each is a human agent or AI-assisted agent, and resend activation emails when needed.
Admins also act as agents, so choose an agent type for admins as well.